



You can dry fruit without a dehydrator by using a conventional oven or, under suitable hot and dry conditions, the sun. The oven gives home cooks better control over temperature and airflow, while sun drying depends heavily on weather and humidity. This guide explains how to prepare fruit, dry it in an oven, use outdoor sun drying safely, and store homemade dried fruit properly.
How to Dry Fruit in the Oven Without a Dehydrator
Drying fruit without a dehydrator works well in a conventional oven when you control the temperature, airflow, slice thickness, and drying time. An oven temperature of about 140–150°F (60–66°C) is recommended for drying fruits because low heat allows moisture to escape without cooking the outer surface too quickly.
Step 1: Choose and Prepare the Fruit
The first step in drying fruit without a dehydrator is choosing ripe, sound fruit and preparing it properly. Fresh fruit should have good quality without mold, severe bruising, or signs of spoilage because drying does not improve damaged produce. Wash the fruit under clean running water, remove stems, pits, seeds, or cores when necessary, and pat the surface dry before slicing.
Different fruits require different preparation because their size, structure, and moisture content affect how quickly they dry.
|
|
|
|
|
|
|
|
|
|
|
|
|
|
|
|
|
|
|
|
|
|
|
|
|
|
|
|
|
|
|
|
|
|
|
|
|
|
|
|
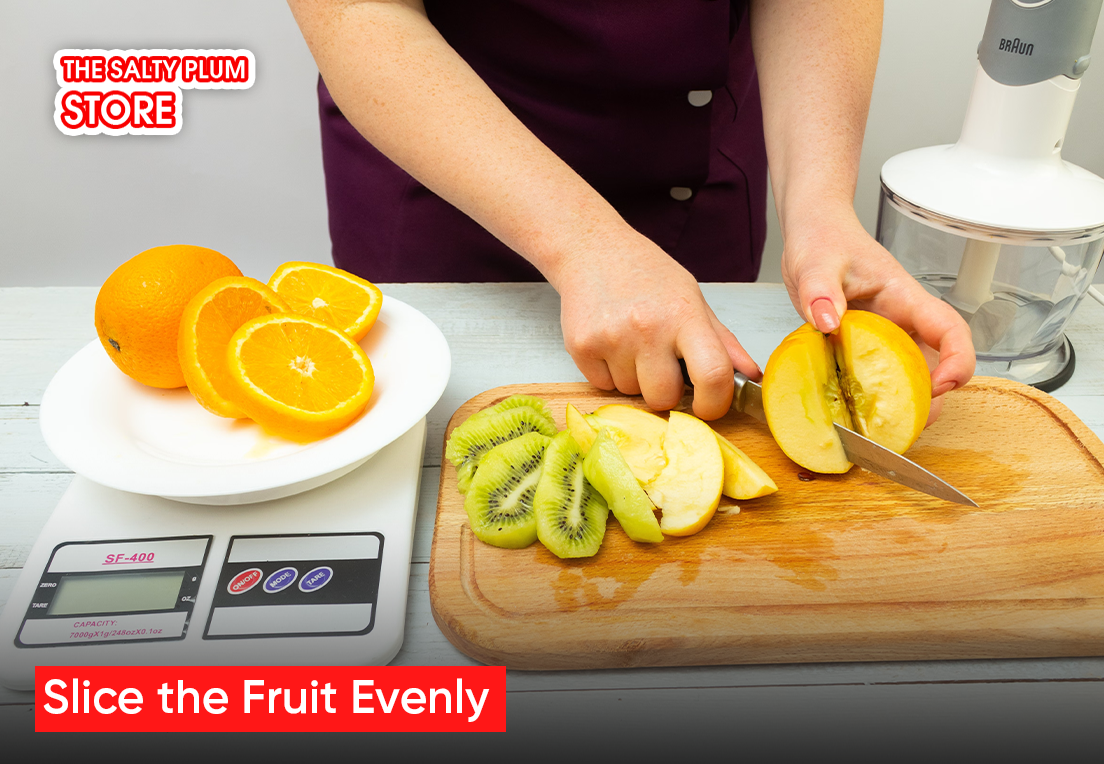
Step 2: Slice the Fruit Evenly
Even slices help drying fruit without a dehydrator produce a more consistent result because pieces with similar thickness lose moisture at a similar rate. Thin slices generally dry faster than thick pieces, while very thick pieces can develop a dry exterior before the centre has released enough moisture. It is best to cut pieces into similar sizes, shapes, and thicknesses and avoid contact or overlap on drying racks.
Step 3: Treat Fruit to Reduce Browning
A simple acidic pretreatment can reduce browning in fruits such as apples and pears before oven drying. A diluted lemon juice solution or an appropriate ascorbic-acid or citric-acid treatment can slow oxidation and help the fruit retain a more appealing colour. This step matters most for fruits that brown quickly, so you do not need to pretreat every type of fruit.
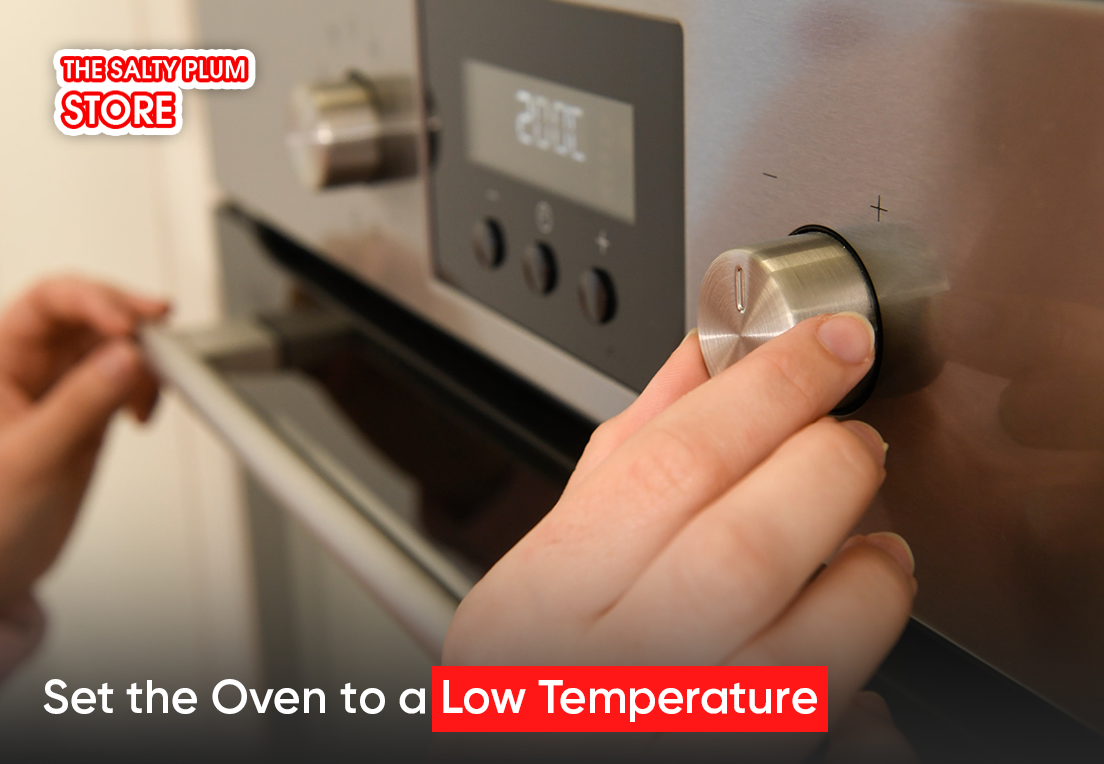
Step 4: Set the Oven to a Low Temperature
The recommended oven temperature for drying fruit is about 140–150°F (60–66°C), because low heat allows moisture to evaporate gradually without excessively cooking the fruit. An oven thermometer can provide a more reliable temperature reading because the displayed oven setting may not match the temperature near the food.
A convection oven can improve the process because its fan moves air around the fruit. If your oven design and manufacturer instructions allow it, slightly opening the door by about 2–3 inches can also help moisture escape.
Avoid using excessive heat to shorten drying time because high heat can harden the outer surface before moisture leaves the centre. This problem, known as case hardening, can leave food apparently dry on the outside while moisture remains inside and later contributes to mold growth.
Step 5: Arrange the Fruit on the Tray
A single, non-overlapping layer gives each fruit slice better exposure to warm moving air during drying. Place the prepared pieces on a clean baking tray or, where suitable, on a rack positioned over a tray so that air can circulate around more of the fruit.
Good airflow makes drying fruit without a dehydrator more effective because moving air carries evaporated moisture away from the fruit. The drying process therefore depends on both heat and air movement rather than temperature alone.
Step 6: Dry the Fruit and Check It Regularly
Drying time depends on the fruit type, slice thickness, moisture content, oven temperature, and air circulation, so no single drying time works for every batch. Thin apple slices may dry considerably faster than thick mango strips, while high-moisture fruits can require substantially more time.
Regular checks help you finish drying fruit without a dehydrator without over-drying the batch. Rotate trays or reposition pieces when your oven heats unevenly, and continue drying at low heat until the fruit reaches the desired texture.
Step 7: Cool and Check the Fruit Before Storage
Cooling the fruit before testing it gives you a more accurate indication of its final texture because hot fruit can feel softer and more moist than it will after cooling. Remove a few pieces from the oven, allow them to cool, and check whether they feel appropriately pliable, leathery, or crisp for the fruit and your intended use.
If the centre remains visibly wet, continue drying at low temperature rather than simply increasing the heat. A gradual drying process reduces the risk of creating a hard exterior around a moist interior.
How to Sun-Dry Fruit Without a Dehydrator
Sun drying can work without a dehydrator when hot, dry, breezy weather provides enough heat and airflow to remove moisture consistently. Outdoor fruit drying is recommended only under favourable conditions, including temperatures of at least about 85°F (29°C), with higher temperatures preferred and relative humidity below 60% considered best.
Step 1: Check the Weather Conditions
Suitable weather makes drying fruit without a dehydrator possible outdoors because sunlight provides heat while dry moving air carries moisture away. Hot, dry, breezy conditions work better than cool, humid or rainy weather, and outdoor drying can take several days because the process has less temperature and airflow control than an oven.
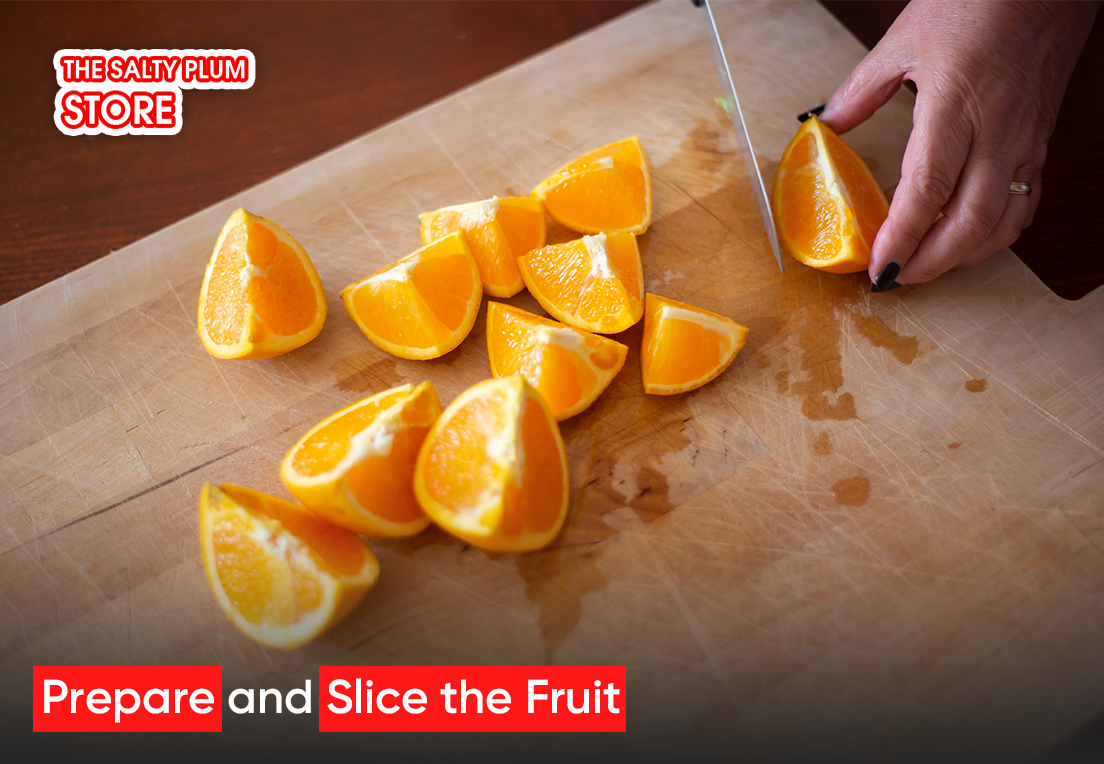
Step 2: Prepare and Slice the Fruit
Sun-dried fruit needs the same careful preparation as oven-dried fruit because evenly sized pieces dry more consistently. Wash the fruit, remove unwanted parts, and cut it into relatively thin, uniform pieces before placing it outdoors.
Step 3: Arrange the Fruit on a Suitable Drying Surface
A clean food-safe rack or screen provides better airflow around the fruit than a flat surface that traps moisture underneath. Arrange the pieces in a single layer and leave small spaces between them so air can move around each piece.
Step 4: Protect the Fruit From Insects and Contamination
A protective food-safe screen keeps insects and outdoor contaminants away from sun-dried fruit during the long drying process. Using two screens can offer effective protection against insects and birds.
Bringing the fruit under shelter at night prevents cool air from adding moisture back to the food. Outdoor fruit can absorb moisture through nighttime condensation, which slows drying and can increase spoilage risk.
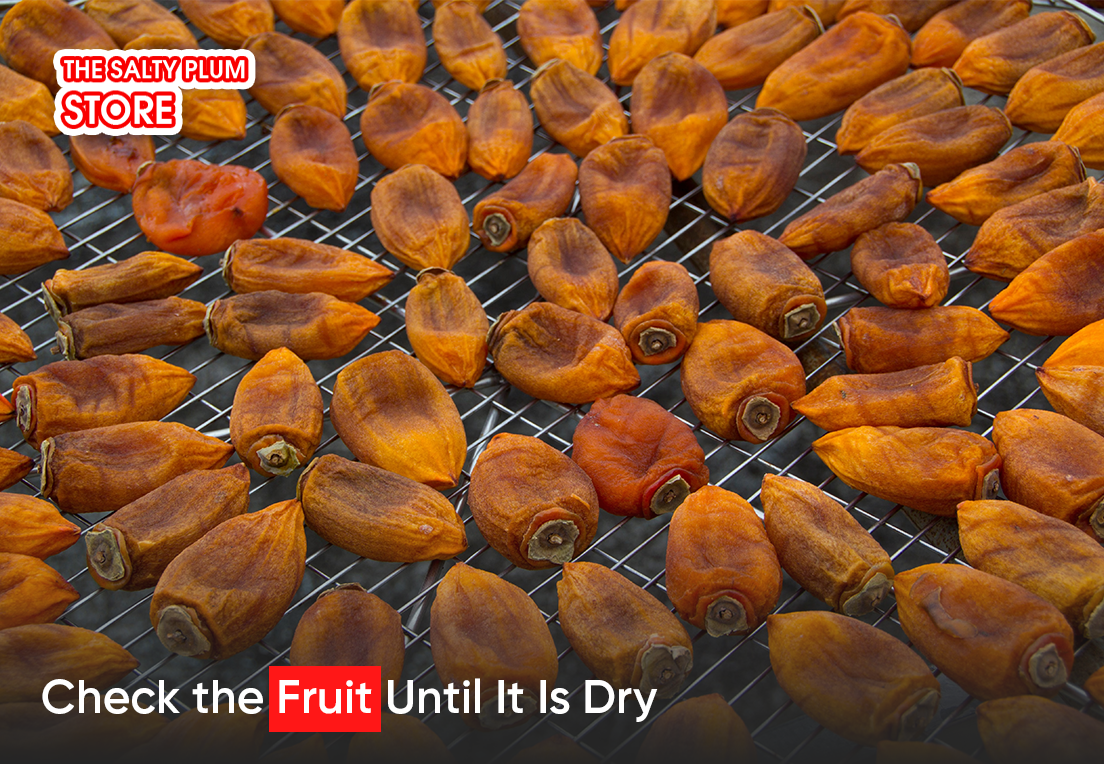
Step 5: Check the Fruit Until It Is Dry
Sun-dried fruit can require several days to reach the desired dryness because outdoor conditions change throughout the drying period. Check the fruit regularly and move it indoors if rain, high humidity, or unsuitable temperatures interrupt the process.
Step 6: Cool and Prepare the Fruit for Storage
Fully cooled and thoroughly dried fruit should enter storage only after you check that no obvious moisture remains. Because outdoor drying exposes food to insects, an additional pasteurization step is recommended for produce dried outdoors, such as heating it in an oven at 160°F (71°C) for 30 minutes or freezing it for 48 hours at 0°F (-18°C) or below.
How to Store Homemade Dried Fruit
Proper storage protects homemade dried fruit from moisture reabsorption, insects, and mold after the drying process ends.
- Cool the fruit completely before storing: Cooling prevents warm fruit from creating condensation inside the container, which can provide enough moisture for mold growth.
- Condition the dried fruit: Conditioning allows remaining moisture to redistribute between pieces, so you can identify fruit that needs additional drying before long-term storage.
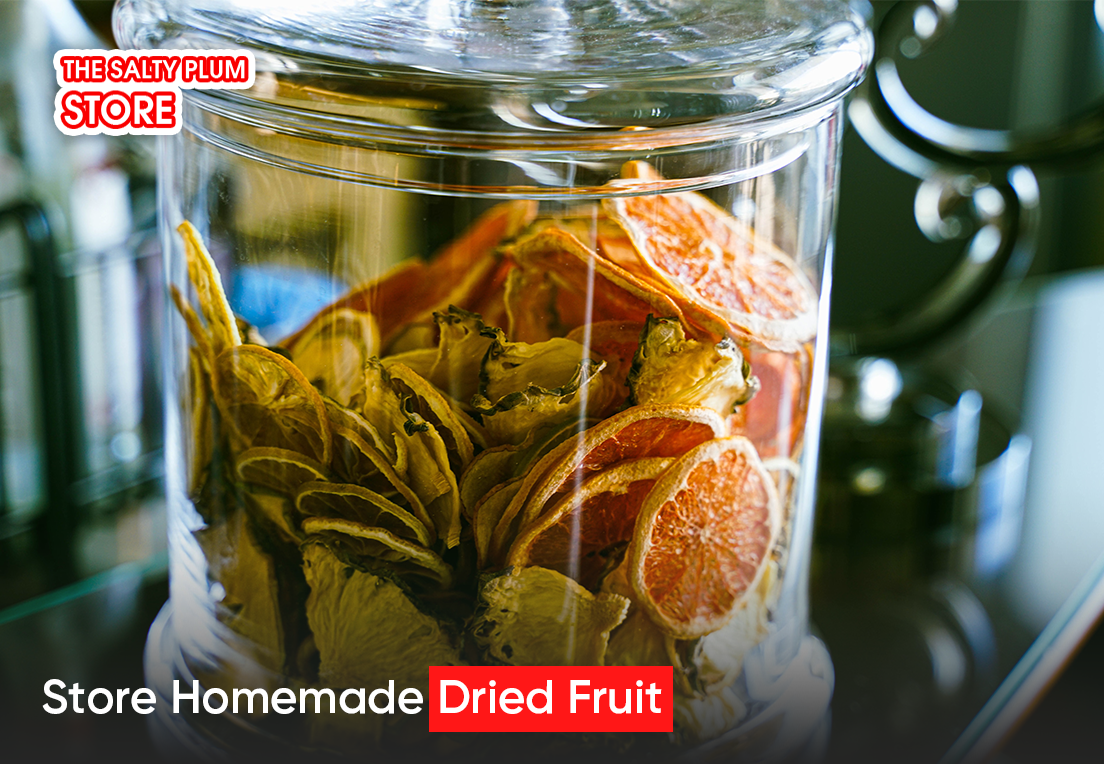
- Use airtight, moisture-resistant containers: Airtight glass jars, suitable plastic containers, or freezer bags can reduce moisture absorption and protect the fruit from insects.
- Keep it in a cool, dry, dark place: Lower storage temperatures help preserve quality because heat shortens the storage life of dried foods.
- Check for condensation or spoilage: Moisture inside the container can indicate that the fruit needs further drying, while moldy fruit should be discarded rather than redried.
- Consider refrigeration or freezing: Refrigeration or freezing can provide an additional storage option when you want to protect homemade dried fruit for longer periods or when the fruit retains more moisture.
- Label the storage date: A clear date helps you monitor the age of each batch and use older batches first.
Drying fruit without a dehydrator can produce good homemade snacks when you control moisture, temperature, airflow, and storage conditions. An oven provides the most predictable household method, while sun drying can work when outdoor weather meets the necessary conditions